Article · SS04
The Lob and Drop Work Together
The front-to-back strategy succeeds through height, disguise and position, because distance alone does not prevent an opponent from attacking the ball
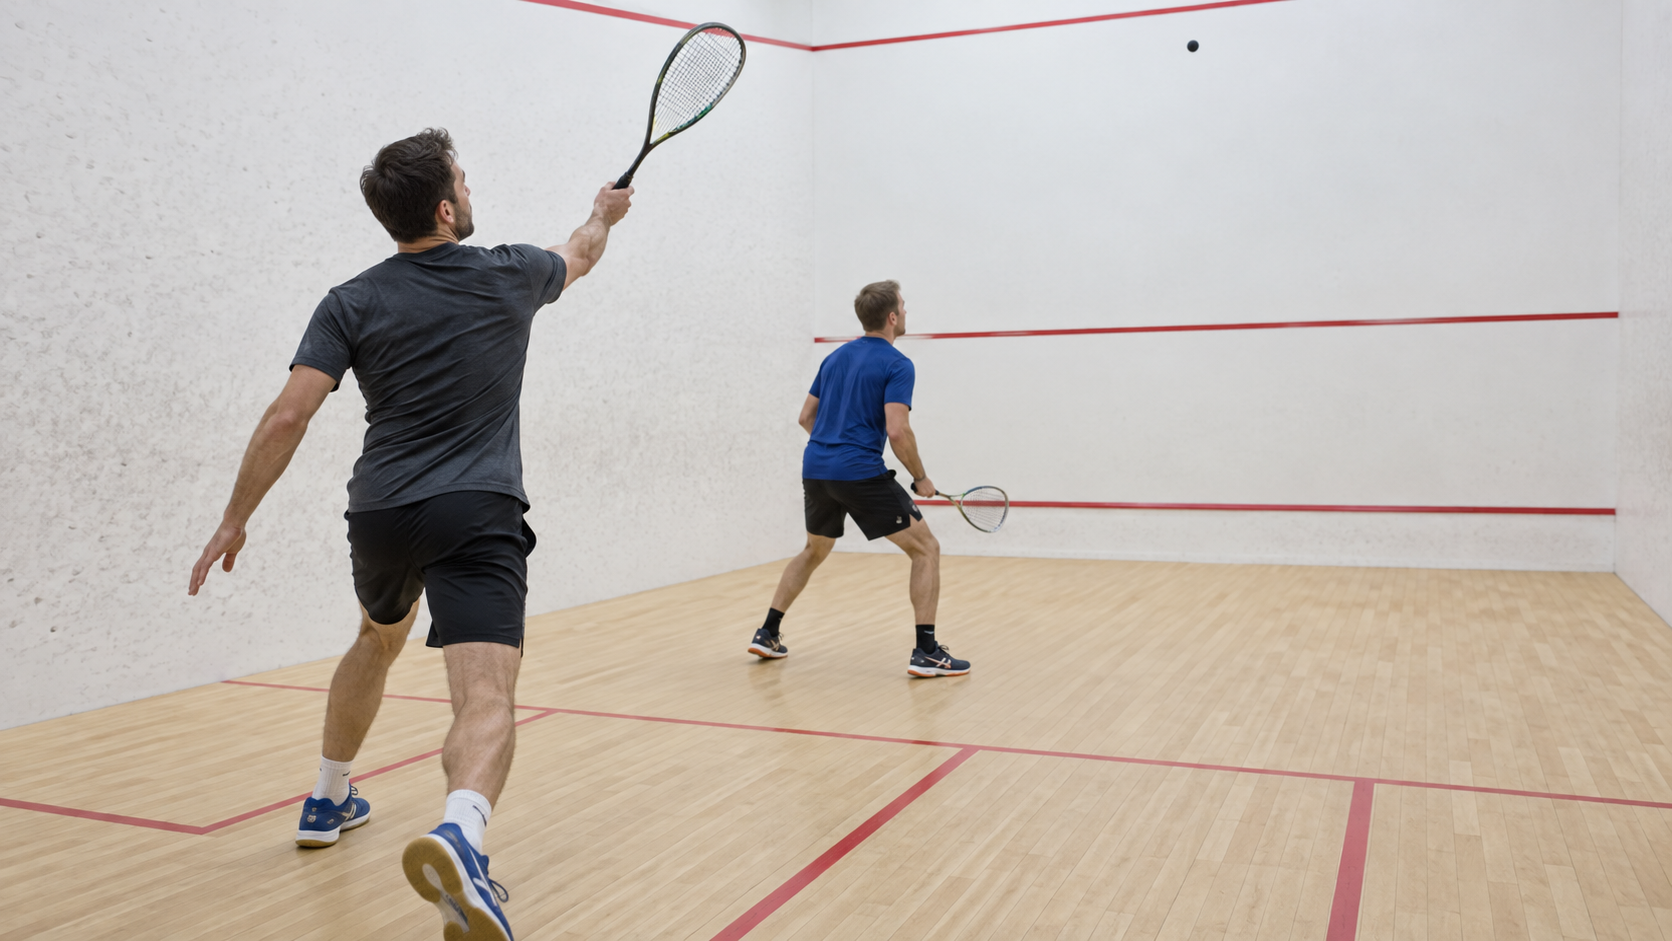
Three points
- **A lob must first pass the volley.** Useful height, width and depth move the opponent behind the striker and buy recovery time; a floating ball through central reach does neither.
- **A drop earns value from the court already created.** It becomes stronger after depth, displacement or a held preparation makes the opponent start late, while a drop from pressure often transfers the attack.
- **The combination must remain reversible.** Lob–drop, drop–lob and repeated depth all belong to the same strategy, and the opponent’s position decides which continuation deserves use.
“Move the opponent to the back, then drop” sounds like complete strategy. It is only a destination map. It says nothing about whether the lob can pass the racket, whether the drop is struck in balance or whether the player has recovered far enough to cover the answer.
The lob and drop work together because they ask the opponent to solve contrasting problems. The lob changes eye level, pace and court depth. The drop reduces time and asks for controlled forward movement. Their relationship becomes powerful when both shots remain credible from similar preparation and when the striker occupies a position that supports the next ball.
Elite shot-selection research offers one useful illustration. In one analysis, elite right-handed men under limited time in the front-left area used the crosscourt lob frequently. That finding belongs to that sample and situation; it is not a percentage target for amateurs. It does support a coaching principle: a lob is not merely an attacking flourish. From pressure, height and crosscourt distance may create the time needed to escape.
Diagnose the purpose of height
Players often evaluate a lob by where it lands. The first test occurs earlier: does the ball travel above or outside the opponent’s credible volley? A deep ball that the opponent intercepts near the T has failed before it reaches its intended destination.
The straight lob generally travels a shorter route and can stay close to a wall, but it must clear the striker’s own body line and the opponent safely. The crosscourt lob has more distance in which to rise and can move an opponent across the court, but its diagonal path may cross a central interception zone. The correct choice depends on contact position, available angle, opponent reach and your clearing route.
Tactical-diagnosis table
| Situation | Tactical purpose | Preferred ball quality | Recovery responsibility | Abort or change when |
|---|---|---|---|---|
| Late in front with opponent established centrally | Escape and create time | High trajectory outside reach, often crosscourt | Clear safely, then regain a neutral base | Racket preparation or contact cannot produce safe height |
| Balanced in front with opponent behind | Preserve disguise and move opponent deep | Lob that resembles drop preparation | Hold front territory without crowding access | Opponent reads early and steps into the volley |
| Opponent crowds forward after repeated drops | Punish forward bias | Height over the outside shoulder into depth | Recover early enough to cover a weak length | Lob floats through the middle or lacks depth |
| Opponent remains deep after your length | Use the short court | Tight drop from balanced contact | Cover counter-drop first and lifted crosscourt second | Ball is too low, too tight or behind your body |
| Opponent retrieves drops comfortably | Improve setup rather than hit shorter | More depth, hold and repeated direction before dropping | Preserve patience and the next volley | You try to “win” by reducing margin below control |
| You reach a rear-court ball with time | Reverse the pattern with drop–lob possibility | Hold, working drop or repeat length according to opponent | Avoid becoming trapped behind after a low shot | Opponent already owns the T and can counter short |
| Ball is cold and dies early | Reassess usable height and target depth | Larger margin and enough pace to carry | Warm ball within rules before judging pattern | You mistake poor ball behavior for tactical success |
| Fatigue reduces touch | Simplify targets and preserve continuation | Higher margin, straighter length, fewer forced drops | Rebuild balance before changing pace | Fine control disappears under score or movement |
Use the lob to alter time
Height serves three different purposes. It may create your recovery time, reduce the opponent’s preparation time by passing late over reach, or change the rhythm of the exchange. These purposes can conflict. A very slow ball gives you time but may also give the opponent time to retreat and settle. A flatter attacking lob may pass quickly but leave little recovery if it rebounds loose.
Advanced amateurs should judge the shot by the opponent’s contact:
- Did the opponent volley comfortably near the T? The ball lacked passage quality.
- Did the opponent move back but strike in balance away from the wall? It gained depth without enough width.
- Did the opponent turn, separate from the wall and still control the ball? The lob created movement but not pressure.
- Did the opponent contact late, behind the body or close to the wall? The shot created a favorable next exchange.
The lob also changes according to opponent type. A tall early volleyer demands greater height, better width or later disguise. A deep retriever may handle height comfortably but surrender the front court. A hard hitter may dislike generating pace from a slow ball, while a patient drop–lob player may welcome the same rhythm.
Drop because the opponent starts late
A drop is more than a soft shot near the tin. Its effectiveness depends on contact height, second bounce, wall relationship, disguise and the opponent’s starting movement. Advanced amateurs often chase an impossible “perfect” drop when a slightly safer ball would still force a weak lift.
The best invitation often comes from prior depth. The opponent has turned into a back corner, recovered late or begun moving backward. The striker reaches the next ball in front with balanced preparation. From this position, the drop and drive can share an early visual picture. The opponent must delay commitment.
A drop from behind the opponent creates the opposite geometry. Even if the ball is technically accurate, the striker must clear from behind while the opponent moves forward through central space. The counter-drop becomes difficult to cover and interference risk increases. The problem is positional, not merely technical.
Opponent-response and counter-response table
| Your shot | Opponent’s best answer | Cue to read | Your counter-response | Adjustment by player type |
|---|---|---|---|---|
| Straight lob from front | Volley straight or retreating length | Early racket height and whether feet move forward or back | If volleyed, defend; if passed, preserve front position | Against volleyer, use more hold or crosscourt height |
| Crosscourt lob from pressure | Early volley or straight drive from opposite rear | Whether trajectory clears outside shoulder | Recover centrally without following diagonal | Against hard hitter, expect pace down the line |
| Drop after deep pressure | Counter-drop or crosscourt lift | Opponent’s arrival balance and racket face | Cover counter short, then take the lift early | Against retriever, expect a playable ball and prepare continuation |
| Working drop from rear | Counter-drop or straight pressure behind you | Opponent’s central position at your contact | Clear and recover conservatively | Against shooter, avoid donating front position |
| Counter-drop | Re-counter or lob over advancing player | Opponent’s approach and preparation length | Stop outside line; retain a backward first step | Against drop–lob player, do not lean into the front |
| Repeated lob | Opponent begins retreating early | First movement before your contact | Hold and drop, or drive into vacated front space | Against anticipator, preserve identical preparation longer |
| Repeated drop | Opponent creeps forward | Recovery position after the previous exchange | Lob above outside reach | Against fast runner, use disguise rather than finer margin |
| Drop that sits up | Opponent attacks crosscourt or holds | Your own weak contact and blocked recovery | Accept defense; clear before chasing the T | Against any type, do not compound a loose drop by guessing |
Build a sequence with branches
The simple combination says lob, then drop. A playable strategy uses branches:
- Lob passes and opponent contacts under pressure. Hold the front position and look for the volley, repeated depth or short attack.
- Lob passes but opponent settles. Do not force the drop. Repeat depth, change pace or wait for a weaker contact.
- Lob is intercepted. Defend the actual ball; do not continue the imagined sequence.
- Drop forces a weak lift. Take the ball early if balanced, often to length before attempting a second short shot.
- Drop is countered tightly. Play the front exchange according to balance and access, with safety first.
- Opponent starts anticipating. Hold preparation and choose the open alternative rather than proving the original plan.
This branching structure is why the combination can trouble different player types. Against a retriever, it produces repeated direction changes rather than relying on one winner. Against a volleyer, it tests passage before opening the front. Against a power player, it changes the pace and contact height. Against a drop–lob specialist, it prevents automatic commitment to either extreme.
Mark the basis of the advice
Research evidence: Elite observational research shows relationships among time, court area and shot selection, including frequent crosscourt-lob use in a specific pressured front-court condition. Situation-awareness research shows that nominally identical shots can impose different demands. These studies do not test a universal lob–drop program for advanced amateurs.
Established coaching principle: Recognized instruction treats lobs as defensive and attacking tools and connects successful drops with balance, deception, position and prior depth. Coaches commonly teach front-to-back movement through progressive games.
RacketBridge editorial judgment: The “passage before destination” test and branching sequence help amateurs evaluate whether the combination is working. They are practical interpretations of evidence and coaching, not experimentally validated rules.
Train passage, position and transfer
Partners should use a suitable ball and warm it properly. A colder ball changes bounce and may make weak drops appear effective while preventing realistic retrieval. Normal access, swing and safety rules remain in force during every condition.
Conditioned-game progression table
| Stage | Condition | Tactical target | What to record | Transfer test |
|---|---|---|---|---|
| 1. Passage game | Lobs score a bonus when they pass above or outside credible volley reach and reach the rear quarter | Height and width before depth | Passed, intercepted or loose-back outcome | Five unrestricted rallies using the same visual test |
| 2. Depth-before-short | Short winner gains a bonus only after a prior ball pressures the rear quarter | Earn the drop | Whether the opponent was actually behind or moving back | Remove target and identify voluntary setup |
| 3. Two-option hold | From balanced front contact, player may use only straight drop or lob | Preserve common preparation and read opponent bias | Opponent’s first movement before contact | Restore drive and see whether hold still delays movement |
| 4. Reversible sequence | After a successful lob, player may drop or repeat depth; after a drop, may counter short or lift | Avoid scripted combinations | Choice matched opponent position | Ordinary scoring with partner noting forced sequences |
| 5. Type-specific game | Partner adopts one tendency: volley early, stay deep or counter-drop | Adapt height and continuation | Which branch produces weak contact | Partner changes tendency without announcement |
| 6. Match transfer | Play to 11 without restrictions; allow one tactical review at six points | Preserve decision under score | Passage rate, attacks earned and recovery after short ball | Compare with pre-training match video or notes |
The combination succeeds when the player controls the opponent’s starting position and retains a credible next answer. Distance is the visible result; time and position do the strategic work.